
Quarantine and self-isolation have had a positive effect on the Canadian population, as many people have chosen to take some of the downtime to start new hobbies, clean out their homes or begin renovation projects that they may otherwise have never considered. It’s definitely a positive thing, and has kept lumber yards, home improvement places and retail locations in the black during this whole mess.
Although I’ve been dealing with small projects like growing a lawn in my back yard and selling my car, I haven’t really tackled anything that’s taken serious effort. But since the basement of my house is damaged and the whole thing will need renovating, I’ve found myself without a workout space. Oh sure, I’ve been able to continue doing things like cycling and I even did my Marine workout in the garage, last week. But I’m losing the striking pad I had mounted on the current basement wall. I needed a solution.

Since I didn’t consider it safe or in anyone’s best interest for me to attempt basement renovations on my own (I’m great with a sledgehammer, that’s the limit of my renovation capabilities), I decided to construct my own makiwara board for the back yard. I’ve mentioned this training tool in previous posts, but a makiwara is a padded board typically used to condition the knuckles and strengthen your punches. It’s thought to be Okinawan in origin and is mostly used in traditional styes of karate.

Most properly-constructed makiwaras can run anywhere from one to several hundred dollars in cost, especially if you factor in the shipping and handling to have it brought to you from whatever distributor you purchased it from. But if the Okinawans can build theirs from scratch, I figured “so can I.” I had several 7-foot lengths of wooden board that was left over from our house’s previous owner. I started by trimming two of these boards to an appropriate and matching length.
The free lumber was definitely a solid start and is potentially the most expensive aspect of the project. I brought my son Nathan to Home Depot, where we purchased a half dozen 6-inch iron bolts with matching nuts and washers. I also purchased a 100-foot length of polyester cord, which would be wrapped at the top of the makiwara as the striking surface. Polyester is a water-resistant material, so it would be best-suited for an outdoor training tool.
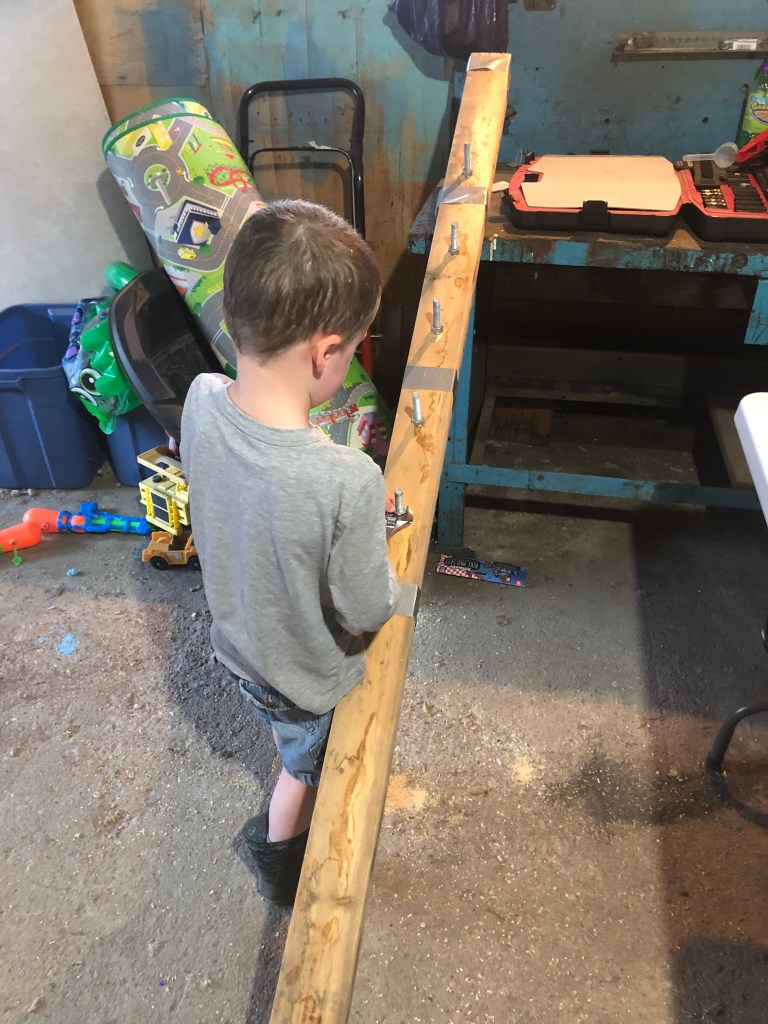
Nathan and I duct-taped the two boards together so that they were flush, them I drilled 3/4-inch holes at five-inch intervals through both boards. I hammered the iron bolts through the holes and Nathan screwed the washers and nuts into place. Once all six bolts were firmly in place, we were able to remove the duct tape and move on to the striking surface.

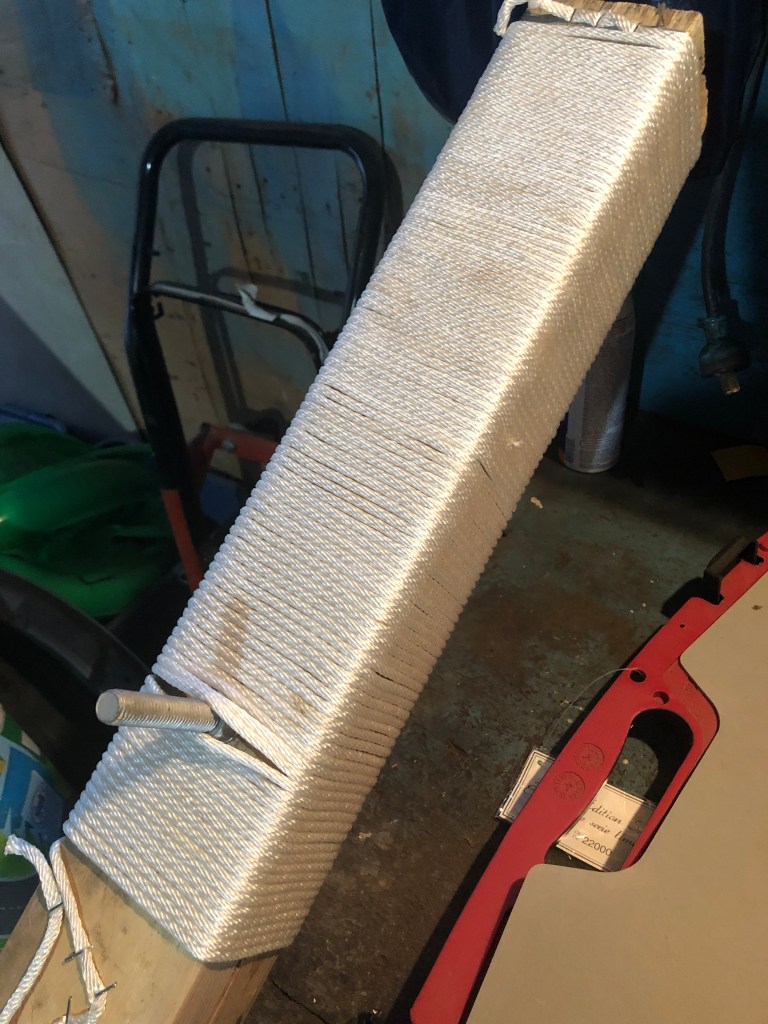
I left the top strip of duct tape and used a staple hammer to fasten the end of cord to the board, followed by twenty minutes of fastidious wrapping and tightening of one hundred feet of cord. With the exception of Nathan complaining he wasn’t allowed to do this part (and climbing over and under the project while I worked), it went reasonably well and I used the same staple hammer to fasten the other end once the cord was all wrapped.
The makiwara was now complete. The next step would require digging a two or three foot hole in the ground, placing the post and filling the remainder with some firm, affixing soil. That was over a week ago. The entire project took a little over an hour and Nathan and I were already tired. So we decided we’d put off the installation until we were able to get some rest and start digging when we were fresh.
Our long-weekend was cut short due to unforeseen circumstances. So on Sunday, Nathan and I took two shovels and a metal bucket and started digging. I didn’t take any photos of that part of the project, since Nathan and I were up to our elbows in dirt. The soil in Regina is a clay composite, which is what’s caused the damage to my basement. It sucks (royally) but it DOES have a benefit for this particular project. Nathan and I reached about twenty-eight inches, which was adequate for the makiwara.
We lowered the post into the hole and packed the remaining space around the pole with the dug up soil. We packed it down after every few shovelfuls, and the clay soil held the post firmly in place. I followed it up with a short length of board to firm up the bracing, placed at an angle at the back. The end result came out quite well, and Nathan and I are quite proud of the job we did.

All said and done, a training tool that would have cost several hundreds of dollars wound up costing less than fifty dollars! Now I just have to find the motivation to get outside to use it. My neighbours have all seen the post and seem to understand the concept behind it, since I explained what it was for. But it may be interesting to see their reactions once I start striking it. There you have it! My do-it-yourself project. ☯

2 thoughts on “Strike The Proper Board”